Popup Presets Overview
Get to know how to build stylish popups and add them to different parts of your website with the help of the JetPopup plugin for Elementor.
There is no secret that it is very important to present content in a readable and eye-catching way. If you need to add notices on various topics to different parts of your website, you can use a professional JetPopup plugin for this purpose. It allows you to create popups with different types of content according to your goals.
What is the Popup Layout?
The popup layout is the pre-made blocks on particular locations and primary style which you can use as an outlet point for customizing popups. All JetPopup presets provide you with lots of versatile stylish templates on different purposes to start that can be easily set up in a drag & drop way.
In this tutorial, we will plunge into the process of selecting the popup layout and adding the content to it.
Applying the Needed Popup Layout Preset
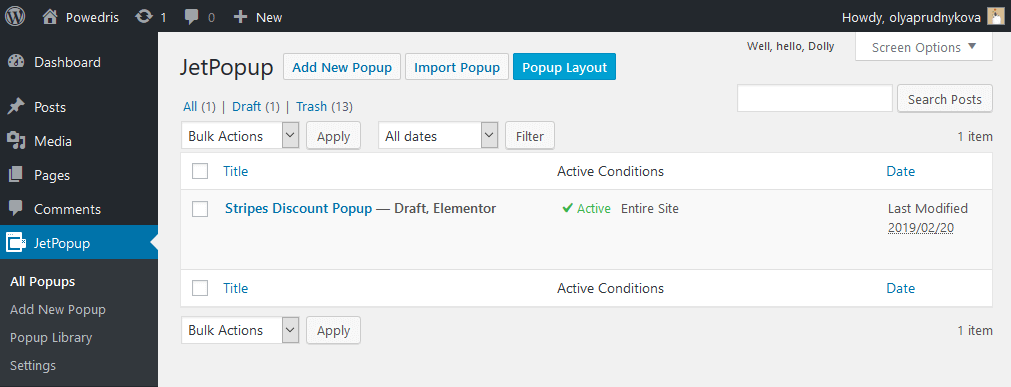
Firstly, proceed to the JetPopup > All Popus directory.
Click the Popup Layout button at the top of the page.
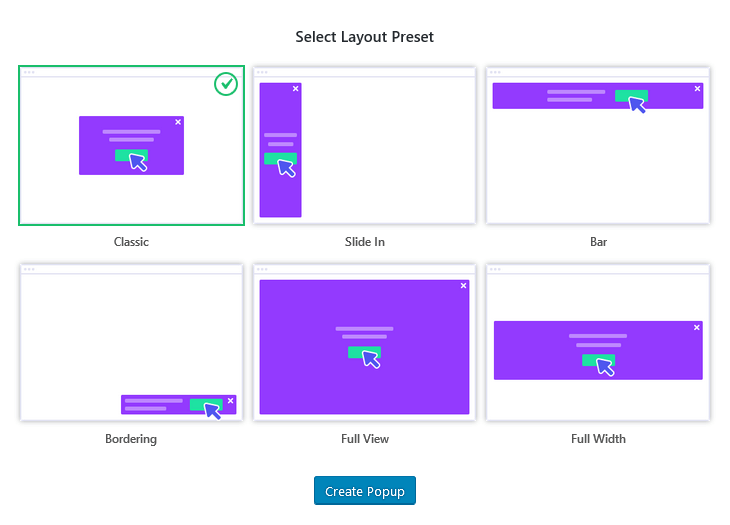
After that, you will see the layout presets to choose from. Select the one you like the most and click the Create Popup button.
Afterward, you will be redirected to the Elementor editor, where you can customize the appearance of the popup using the versatility of different widgets and settings and add your content.
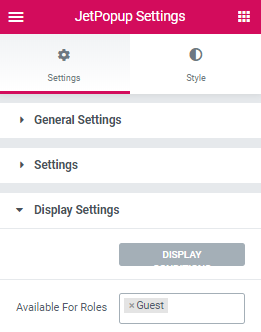
When the customization is completed, navigate to the Popup Settings, which are located in the bottom left corner of the editing page.
Navigate to the Display Settings block and apply the proper conditions for your popup, and select user roles to which this particular popup will be visible.
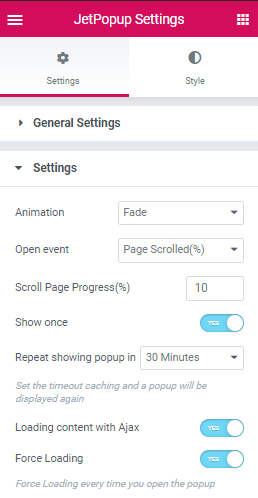
Also, in the Settings block, you can make other customizations for your popups, such as animation effect, and specify the event for opening the popup.
The very last step is to save the progress by clicking the Publish button.
Now, let’s move to your website and check how your newly created popup works.